Slide Pop Help
What is Slide Pop?
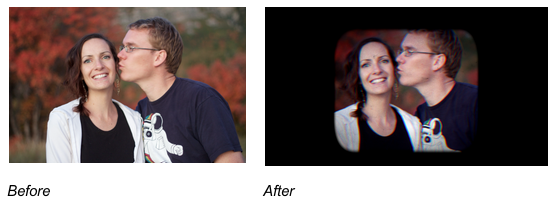
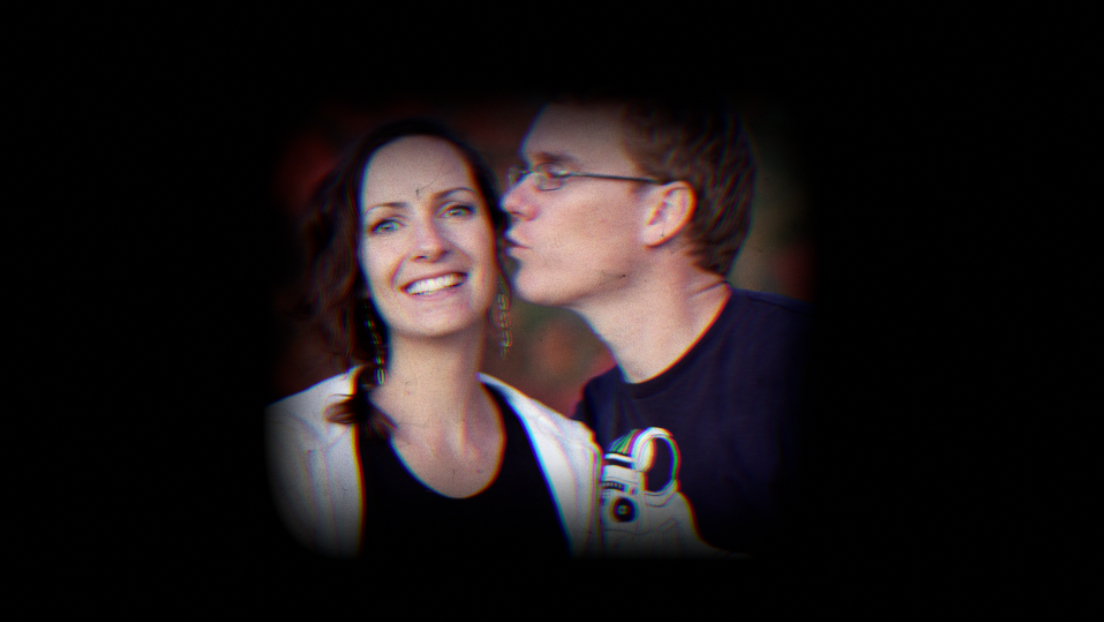
Slide Pop is a Final Cut Pro X effects and transitions pack inspired by the sweet vintage View-Masters of our childhood.
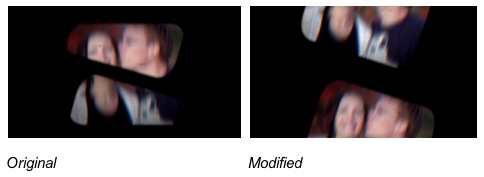
Original and Modified Differences
There are two types of effects and transitions (Original and Modified). They start the same but end differently. You’ll notice the Original ending looks exactly like a View-Master incoming slide, while the modified ending looks like an outgoing slide but doesn’t have a mask in the center.
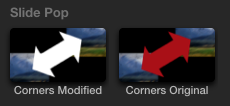
It’s easy to tell the difference in the effects and transitions browsers. Modified effects and transitions have white arrows in thumbnails. Original effects and transitions have red arrows in thumbnails.
Controls
Most controls are common to all effects and transitions. However, there are a few controls specific to certain effects and transitions. The following controls are the same for all effects and transitions.
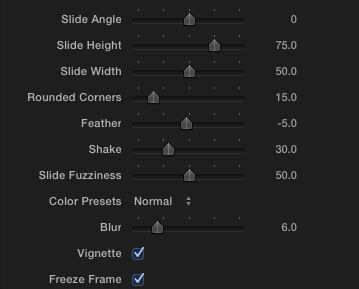
Slide Height
Use this slider to adjust the slide height. The larger the number, the taller the height.
Slide Width
Use this slider to adjust the slide width. The larger the number, the wider the width.

Rounded Corners
Use this slider to adjust the corners’ roundness. For sharp corners, go low. For rounded corners, go high. Find the sweet spot and you’ll be a well rounded editor.
Feather
Use this slider to adjust the edge fade. A negative number will fade the edge inward and a positive number will fade the edge outward. Be careful not to ruffle your own feathers.
Shake
This slider gives Slide Pop a handheld feel. Like if you want it to look like a three year old hopped up on Mountain Dew* is in charge, just crank the slider up to 100. Want fries with that?
*StupidRaisins.com does not condone giving Mountain Dew to three year olds. StupidRaisins.com is not responsible for any damage done by said three year old. But if it’s awesome, send me a video.
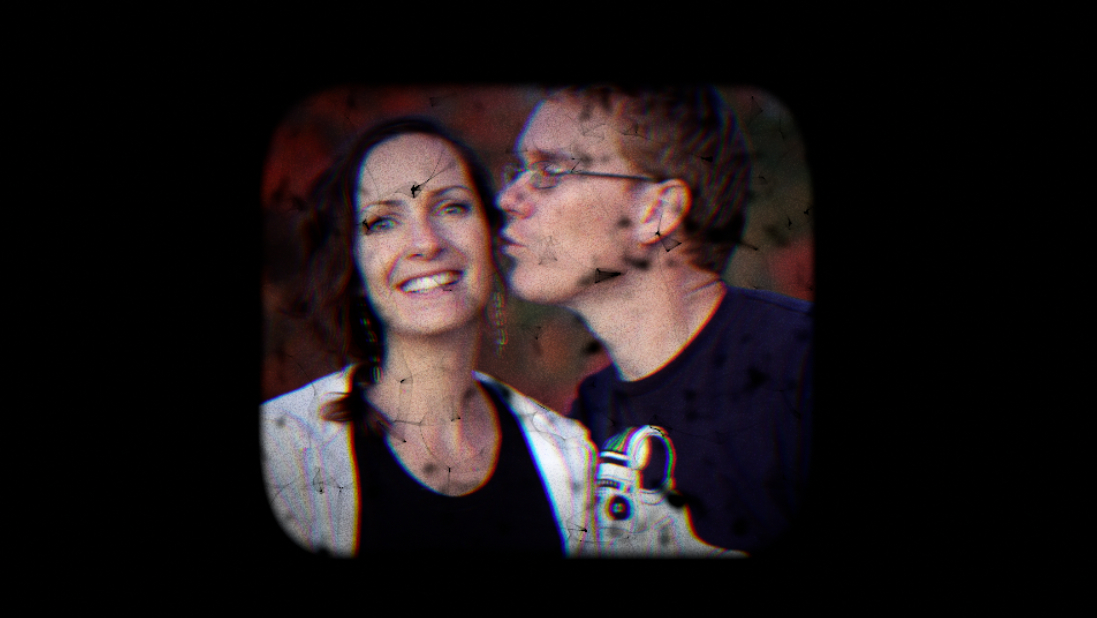
Slide Fuzziness
Some of those old View-Master slides got a bit dirty and fuzzy over time. Let’s face it; when we were kids we didn’t take care of our stuff, either. Use this slider to give your project more or less fuzz depending on your tastes. The higher the number, the more fuzzy and dirty.
Color Presets
Customize your look even further with color presets. Use this dropdown to select different color looks.
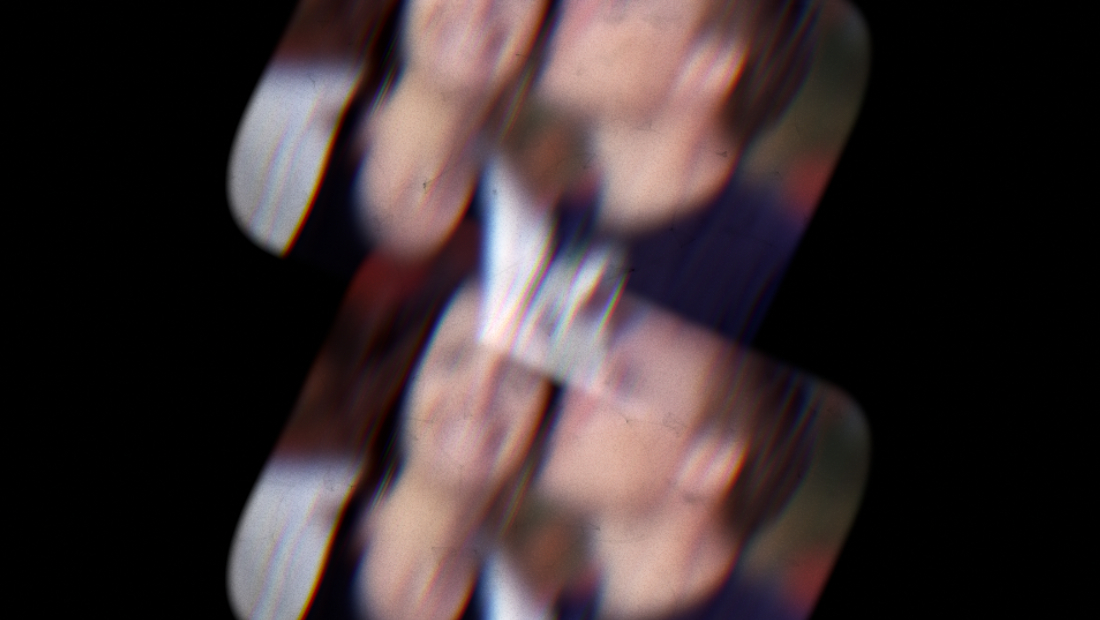
Blur
The great thing about View-Masters is that they look 3D. This slight blur gives your project a 3D pop. Be careful. Don’t go too far or you’ll tear your image apart.
Vignette
There is a small vignette applied to your footage. You can turn it on or off with the checkbox.
Freeze Frames
You can make your video footage look like a still image by checking this box or keep it moving by unchecking the box. Unfortunately, unchecking the box will not turn your still images into video footage. I’m still a first year at Hogwarts and haven’t learned that magical spell.
Slide Angle
Corners, Horizontal, Vertical effects and transitions have tilt animations. That means the slides tilt as they come in and out. Use the slide control to set the amount of tilt/angle. The angle will animate to this value over a few frames. Move it to the right to tilt the slide right and move to the left to tilt slide left. Fun Challenge: see if you can straighten out the Leaning Tower of Pisa!
Slide Direction (Corners Effects and Transitions)
Use this drop down to select the slide animation direction.
Top Right & Bottom Left – A slide will move to the top right and bottom left corners.
Top Left & Bottom Right – A slide will move to the top left and bottom right corners.
Curve Direction (Horizontal & Vertical Curve Effects and Transitions)
Use this drop down to select the slide animation curve direction.
Horizontal Curve
Up (Smile) – A slide will move to the top right and left corners.
Down (Frown) – A slide will move to the bottom right and left corners.
Vertical Curve
Right – In this option the slides animate to the right corners.
Left – In this option the slides animate to the left corners.
Build In/Out
This control applies to Slide Pop effects but not to transitions. Slide Pop effects animate on and off. You can use the Build In/Out checkboxes to turn the animation on and off.
Sound Effect
Download (right click, save as) the authentic View-Master sound effect. Follow these instructions to use the sound in Final Cut Pro X.
Go to you Mac Hard drive.
- Open Library folder.
- Open Audio folder.
- Open Apple Loops folder.
- Open Apple folder.
- Open Final Cut Pro Sound Effects folder.
- Open Motions & Transitions folder (you can pick whichever you’d like).
- Paste the sound effect into that folder.
When you restart FCPX, you’ll find your sound effect in the sounds tab.
Tips Tricks
Make it look exactly like an old View-Master
Drag and drop the “Vertical Original†effect or transition onto your media. Adjust slider to -20 and you’re done!
Scale and move media within slide
Sometimes you may want to change the slide center focus or your media doesn’t fill the canvas. To do this make sure your clip doesn’t have a Slide Pop effect or transition. Position the clip section you want to focus on in the center of the canvas. Next, select the clip and create a new Compound Clip (Option + G). Now drag a Slide Pop effect of transition on top of the compound clip. If you need to adjust the clip, go into the compound clip and make your adjustments.
Mix and match transition styles
Here’s a quick and easy way to mix and match Slide Pop transition styles. For example, you may want the clip to go out horizontally but come in vertically. Follow these steps in this video to mix it up!
Add transition to end or beginning
You may want to add the transition to the beginning or end of your project or a clip. This video will show you how to do that.
View-Master Style Slide Show
Using a combination of the above tricks you can make a View-Master style slide show. Watch this video to learn how.
Got a problem? Yo, I’ll solve it!
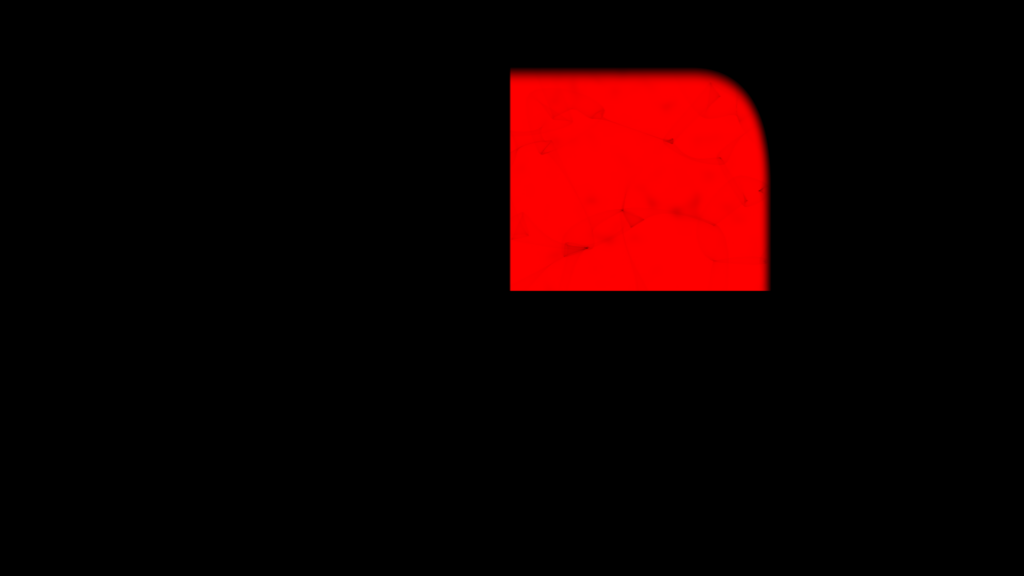
Why do I get red blocks with Slide Pop transitions?
If you shorten Slide Pop transitions (this doesn’t happen with Slide Pop effect), you’ll get red blocks on the incoming clip. This is because Slide Pop uses a “scrub†behavior to freeze the frames. By shortening the transition you cut off scrub freeze frame. It’s best to use the transitions’ default duration (2 seconds 16 frames).
FCPX crashes when I use Slide Pop. What gives?
Most likely you’re using a Slide Pop filter AND transition on the same clip. FCPX doesn’t like this and may crash. I’m fixing this however best practice is to use a filter OR a transition on a clip; not both. Take a look at my videos above on how to achieve the look you’re after. If you still need help, please contact me.
When I use a Slide Pop effect the audio and video go out of sync. Why is that?
If a Slide Pop EFFECT is applied to a clip with a duration other than 2 seconds the audio and video go out of sync. The reason is because Slide Pop EFFECTS use build in/out markers and the loopable area is between those markers. Included with Slide Pop is a “No Animation†template. Use this Effect on clips shorter or longer than 2 seconds.
Need More Help
If you need more help, send me (Dylan) a message.

About Dylan Higginbotham
Hey there. I'm Dylan Higginbotham, and I'm pretty dang obsessed with Final Cut Pro X plugins. Subscribe below because I love giving away free plugins and contributing great content.
Subscribe!
Get 99 Templates for Free!
($138 value)
Do you want to look professional without wasting time & money trying to learn a new skill? Well, check out some free titles, transitions and effects. You're gonna love 'em! Just click the button below to get 96 professionally designed and animated Final Cut Pro templates for only FREE!